Combine two RAW conversions
for better contrast control
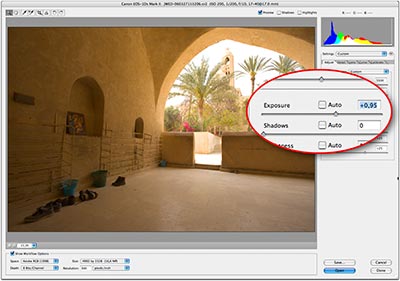 Sometimes an image can have so much contrast, that even the RAW file is difficult to correct. In that case you can combine two RAW conversions, one converted for highlights and the other converted for the shadows. The method is quick and fairly easy, and very adaptable if the result is still not complete satisfactory. You can also use it with two real exposures, as an alternative for HDR. Set the Camera RAW exposure settings so that the shadows come out the way you want it. Then open it. In case of two RAW files, this is the brightest exposure.
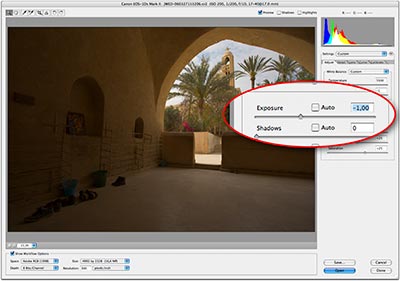 Step 1:
Save this file as TIFF. Open the same RAW file, but now set the exposure so that the highlights have enough detail (or use the second RAW file with the lower exposure). You now have two versions of the same image, the only difference being the exposure.
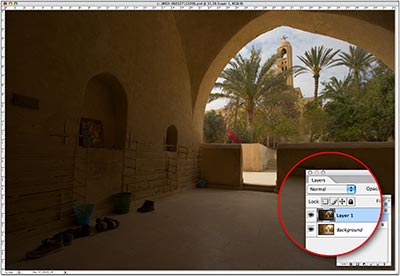 Step 2:
Drag the second file (the dark one) over the first one and drop it there, while keeping the SHIFT key pressed. This will automatically position both files pixel-perfect on top of each other.
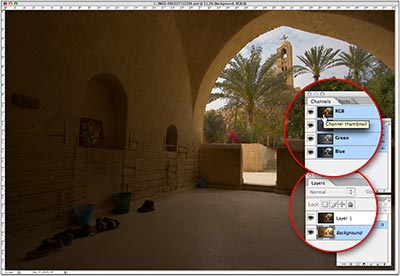 Step 3:
Select the lower layer, and then go to the Channels palette. Click on the ‘RBG’ icon while holding the Cmd-key on the Macintosh, or the Ctrl-key on the PC. This will make a selection based upon luminosity.
 Step 4:
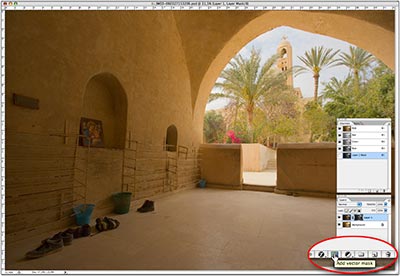
With the selection still active, click on the top layer to activate it. Then click on the ‘Add Layer Mask’ icon on the bottom of the layers palette. This will create a mask from your selection, bringing out the shadows of the underlying image, in combination with the highlights of the top image. You can blur the mask a little to bring back some detail if needed, and you can also paint in the mask to remove small areas completely if necessary.
Site Language / Taal
Select your language / Kies uw taal:
Info
This is the photography blog and website of Dutch photographer and author Johan W. Elzenga. All my images and text are my copyright and may not be used in any way without my prior consent.
360° interior panoramas


