Mobile phone? Go to my Adobe portfolio page!
This site is not optimized for viewing on a mobile phone

 A realistic soft focus effect shows the highest degree of blurring in the highlights, while dark areas hardly blur at all. That cannot be achieved by simply using a bit of Gaussian Blur on the photo, but it can become very realistic with this simple method.
 Step 1:
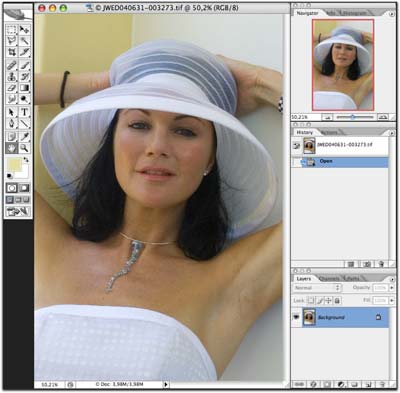
Make a copy of the image in a new layer.
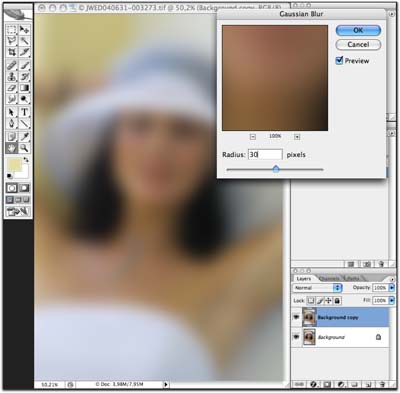
Then use ‘Filter – Blur – Gaussian Blur’ and use a fairly high amount of blur. Remember that you are working on a copy of the image, with the original image still underneath. You can always lower the opacity of this layer if the effect remains too strong after step 2.
 Step 2:
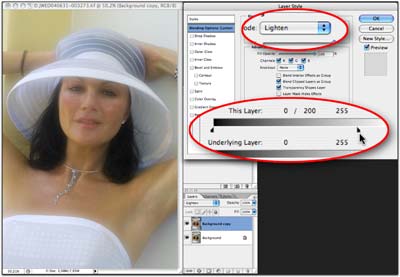
Here comes the trick. Double click next to the icon of the top layer, so that the ‘Advanced Blending’ options come up. Set the layer mode from ‘Normal’ to ‘Lighten’.
Go to the advanced blending at the bottom of the dialog. Go to the left slider of ‘this layer’, and drag the right half of the slider while holding the ALT (Option on a Mac) key. This will split the slider in two halves. Drag the right part to approximately 200. This will create a kind of gradient blend, where pixels above 200 will blend fully, but between 0 and 200 there is a gradient blend from no blending to full blending. The result is that only the highlights will fully blur, just like a real soft focus filter does.
This is the photography blog and website of Dutch photographer and author Johan W. Elzenga. All my images and text are my copyright and may not be used in any way without my prior consent.
360° interior panoramas