Mobile phone? Go to my Adobe portfolio page!
This site is not optimized for viewing on a mobile phone

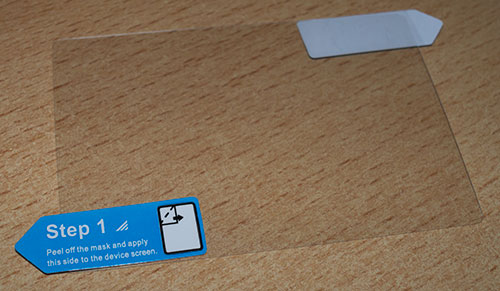
I’ve never used screen protectors on my cameras, so when the UK company ‘Expert Shield’ contacted me and offered me some samples to try out, I was a bit reluctant at first. I wondered how easy it would be to apply them and whether it would be difficult not to get air bubbles trapped underneath the shield. I’ve read many stories from people who tried those very cheap shields, only to get frustrated by all the ugly bubbles. I’m happy that I did agree, because Expert Shield is definitely different. It turned out to be really easy to apply the shield. You clean the screen with the special cloth that is included in the package, and peel off a bit of the protecting layer by simply pulling the sticker called ‘Step 1’. Because the shield is rather rigid, it’s easy to apply it without bubbles. Apply the shield slowly from one end while further removing the protecting layer. If you do get a bubble, you can just lift the shield a bit again to remove it. It took me less than one minute to apply the main shield to my EOS-1D X camera (the camera has three screens, so you get three shields) and perhaps two minutes for the front shield of an iPhone 4. After you’ve applied the shield completely, you pull the ‘Step 2’ sticker to remove the protecting top cover. That’s it, there is no step 3.
Of course it’s too early to say anything about the scratch resistance of the shield. I may come back to that later. Trying to damage it deliberately is not a realistic test. I just need to see what it does over time. Expert Shield gives a lifetime no-scratch, no-bubble guarantee, so they are confident enough. But the main reason to use such a shield is probably not because it’s 100% scratch resistant anyway. The main reason is that if you do ever get serious scratches, you just replace a relatively cheap shield rather than an expensive screen… Highly recommended! Go to Expert Shield to order your own.
This is the photography blog and website of Dutch photographer and author Johan W. Elzenga. All my images and text are my copyright and may not be used in any way without my prior consent.
360° interior panoramas